Nguồn dữ liệu và hình ảnh được cấp quyền: Veena Azmanov. Bản này đang chờ biên tập và Việt hóa bởi BlueBird.
CÔNG THỨC BLUEBIRD · ĐANG BIÊN TẬP
Classic Blueberry Tart
Chuẩn bị—
Nấu—
Khẩu phần—
Độ khó—
Add the flour, salt, and sugar to the food processor. Pulse for 30 seconds. Then add the chilled cubed butter. Pulse for 30 seconds at a time until you have a breadcrumb consistency.Pro tip – pulse in shot…
Cách làm
1
Add the flour, salt, and sugar to the food processor. Pulse for 30 seconds. Then add the chilled cubed butter. Pulse for 30 seconds at a time until you have a breadcrumb consistency.Pro tip - pulse in shot burst so the butter is cut into small pieces rather than creamed into the flour.
2
Combine egg yolk and ice water, add to the food processor feed tube while pulsing at the same time. Pulse for just 30 seconds. Pro tip - the mixture will still be crumbly but when squished with your fingers it should form a dough.
3
Pour the crumbly mixture ixture on a floured surface and gather it all into a ball. Flatten the ball into a disc and chill for 30 minutes.Pro tip - we need to chill just until it is firm enough to roll. But, this can be kept in the fridge for 2 days until you are ready to use it.
4
When chilled lightly roll on a floured surface to about &frac18 thickness.Pro tip - if the dough cracks too much around the edges it means it is too chilled. Leave it on the counter for 5 to 10 minutes until you are able to roll again smoothly
5
Use your 9-inch tart pan as a guide to know how big you need to roll it. Transfer the dough to the tart pan.Pro tip - to transfer the dough easily, roll over the rolling pin and then unroll over the pan.
6
Gently press the dough into the tart pan making sure to press down into the shape of the pan.Pro tip - this dough is delicate so if it breaks don't worry so much. Just patch it and do the best you can. It will be filled with custard so no one will see the patches 😉
7
Trim the excess dough at the edges with a rolling pin, or your thumb. Chill the tart shell for a minimum of 30 minutes.
8
Preheat the oven at 375°F / 190°C / Gas Mark 5
9
Line the chilled dough with parchment paper and fill it with baking beans or pie weights.Pro tip - the best way to line the pie with parchment is to scrunch the paper into a ball, open it, and line with the crumpled paper.
10
Bake for 15 to 20 minutes until the edges are lightly starting to brown. Remove the parchment paper and weights.
11
Continue to bake the empty shell for 10 to 15 minutes more until lightly golden. Cool on a cooling rack until completely coldPro tip - this is a fully baked tart shell and can be used to add any filling once cooled completely. Do not remove from the pan until you have finished assembling
12
In a mixing bowl combine egg yolks, sugar, salt, vanilla, and cornstarch. Whisk until light and foamy. Gradually, add the milk and cream a little at a time to prevent lumps
13
Place the saucepan on medium heat and let the mixture come to an almost boil. Keep stirring with a whisk at all times - taking it off the heat if necessary to prevent curdling.Pro tip - This has to be cooked slowly on low heat with constant stirring or the mixture will curdle. You will notice the big bubbles start to disappear as the mixture thickens.
14
When thick and coats the back of a spoon. Strain thru a sieve. Finally, add the butter and give it a good mix. Pro tip - straining the mixture will remove any curdled eggs and the butter will give it a nice velvety texture.
15
Cover the custard with plastic wrap making sure the plastic is in contact with the surface of the custard to prevent skin from forming.Pro tip - a skin will make a very lumpy custard filling so we want the plastic to touch the surface of the custard.
16
Place in the fridge to cool completely. When cooled place the custard in the bowl of a stand mixer with a whisk attachment and whip for 3 minutes on high.Pro tip - The custard will whip light and fluffy. It also gives a smooth glossy filling that looks like mousse and will hold better
17
In a saucepan add the blueberries, sugar, salt, and half the water. Cook on medium-low until all the sugar had dissolved. Pro tip - the sugar will melt and the mixture will look very runny. The blueberries will swell soaking some of the sugar syrup so keep the heat to low and let it simmer slowly.
18
Add cornstarch to the remaining water - stir well. Add the cornstarch mixture and continue to cook until the mixture becomes thick and glossyPro tip - cornstarch tends to settle down so make sure to stir before you add it to anything
19
Continue to cook on medium - the mixture will thicken and looks glossy. The color will change from an opaque light red to a translucent deep red color.Pro tip - it is important that the cornstarch comes to a boil only then will it go from opaque to a transparent glossy sheen. This means the cornstarch is cooked.
20
When glossy and thick enough to coat the back of a spoon or spatula it's ready. Remove from heat. Cool completely until ready to use it.
21
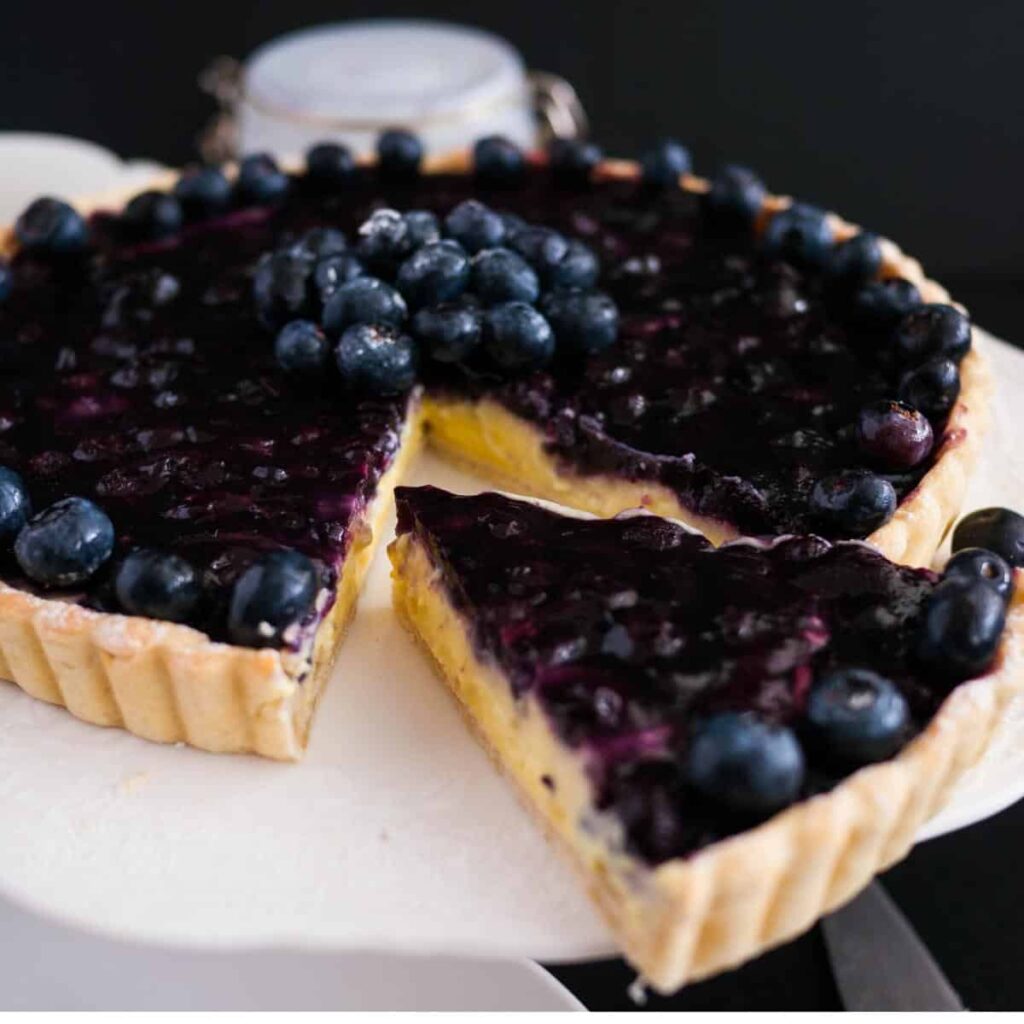
Pour the whipped vanilla pastry cream into the baked and cooled shortcrust pastry.Pro tip - the shell is quite delicate so keep the pastry shell in the tart pan until you have assembled the tart.
22
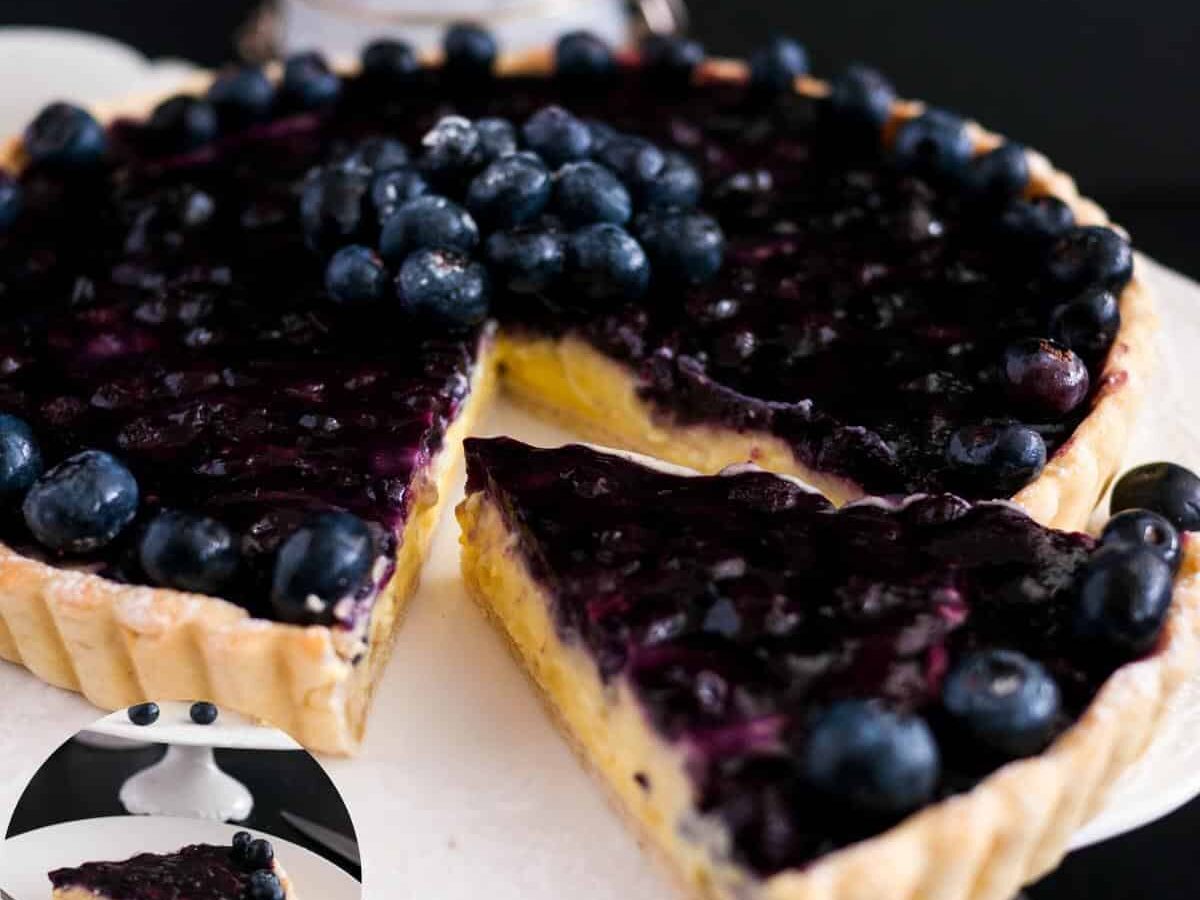
Gently spoon the cooled blueberry filling over the pastry cream. Spread it carefully making sure to not disturb the pastry cream too much.Pro tip - if the blueberry filling is too thick, add a few tablespoons of hot water and give it a good mix. That will help smoothen it out.
23
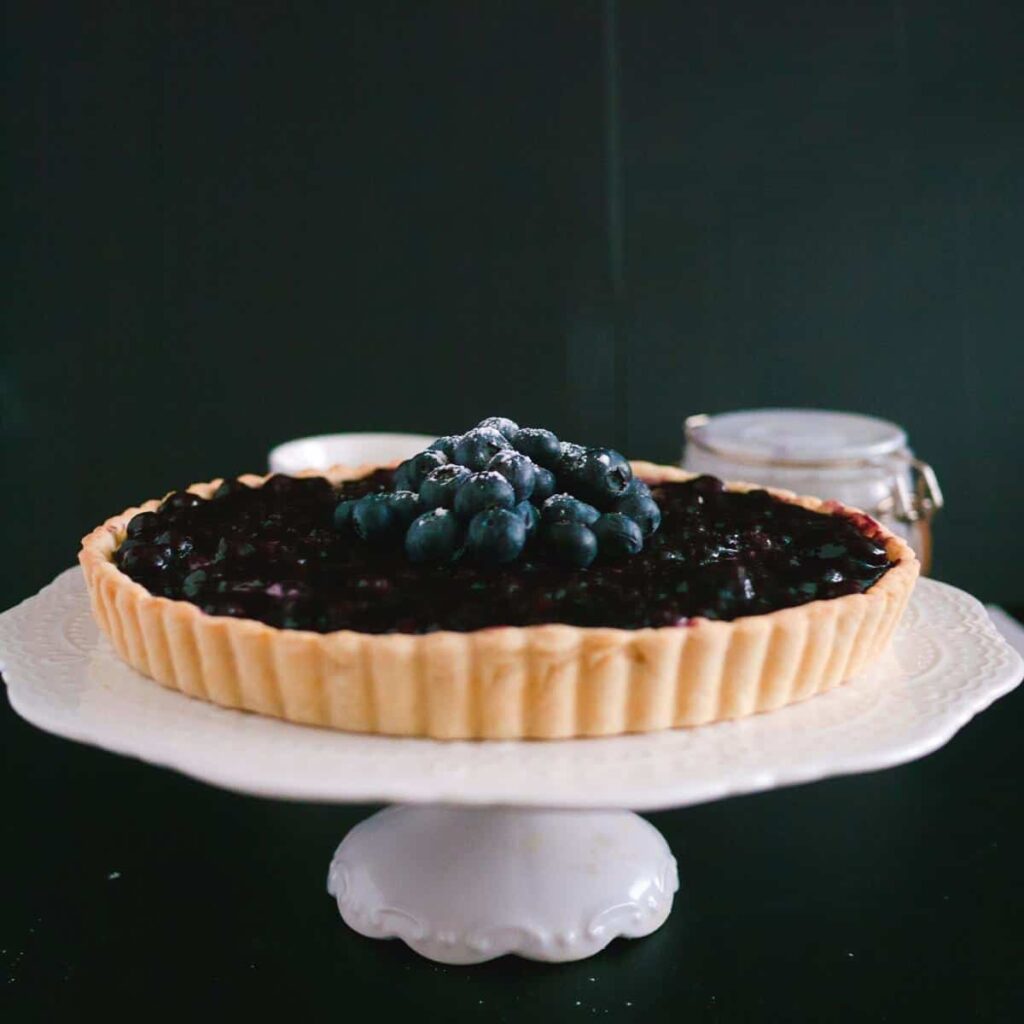
Chill the tart in the fridge for at least 3 hours. When cooled and set - garnish with the fresh blueberries. I placed some in the center and dusted it with powdered sugar.Pro tip - Alternatively, you can also pipe some whipped cream along the edges of the tart for a bakery-style tart effect.
24
Enjoy!
Hình ảnh thực hiện